Creating a scroll view – Beginning iOS Programming (Post 4)
This post is part of a series on native iOS prototyping.
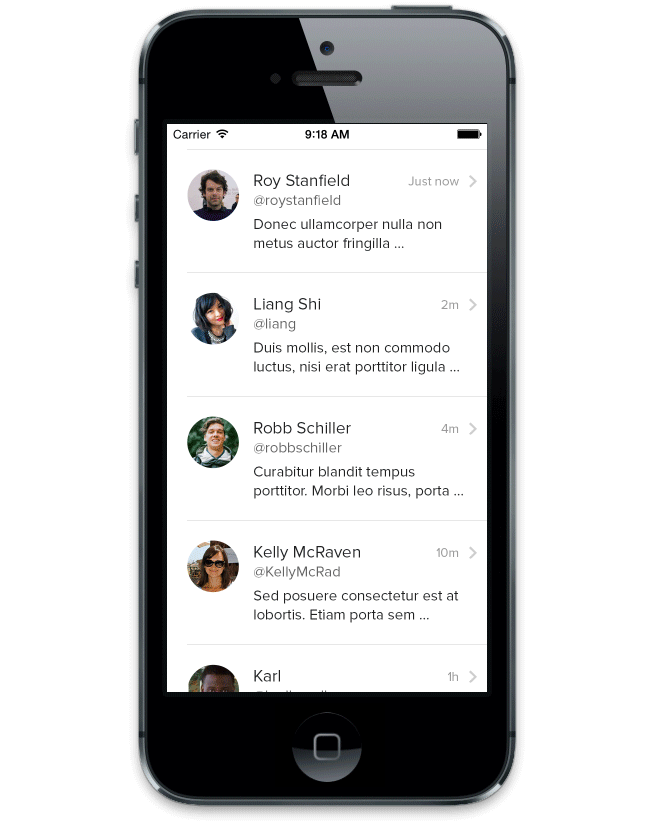
When prototyping you may need to mockup an activity feed, and to have this feel realistic in the prototype you’ll need to know how to make the activity feed scroll. Let’s create a UIScrollView instance and add an image of an activity feed that is scrollable.
Create a new Xcode project by pressing cmd + shift + N and select the Empty Application template. Name your project and save it. Next make a new class by pressing cmd + N and select the Objective-C class and name this something like ScrollViewController. Make sure it is a subclass of UIViewController.
Next you’ll need an image to scroll, so make something the width of an iPhone, but taller, and add it to your project. For the purposes of the prototype you can probably just supply a retina (@2x) image, but to be thorough I always make a non-retina image too.
Drag your images from Finder to the top level project title in the pane on the left side of Xcode. Add the images to the project. We’ll reference them in the app shortly.

Now go back into the AppDelegate file and import your new the header file for you new class.
#import "ScrollViewController.h"
As in the last tutorial in the AppDelegate inside of the application:didFinishLaunchingWithOptions: method make an instance of ScrollViewController and assign to the window’s rootVeiwController property.
ScrollViewController *activityFeed = [[ScrollViewController alloc] init];
self.window.rootViewController = activityFeed;
Creating the Scroll View #
Next go to the ScrollViewController.m file and create a new instance of UIScrollView in the viewDidLoad method.
ScrollViewController is self and its root view is activityFeed so we can get the dimensions for our new scroll view by reading dimensions from activityFeed. Get the width by typing self.view.frame.size.width. And similarly for height. Use this idea to create the width and height for our UIScrollView‘s CGRect.
UIScrollView *activityFeedScrollView = [[UIScrollView alloc] initWithFrame:CGRectMake(0, 0, self.view.frame.size.width, self.view.frame.size.height)];
Then make the activityFeedScrollView a subview of the view that called the viewDidLoad method. Do that by sending a message to self.view.
[self.view addSubview:activityFeedScrollView];
All together the code looks something like this image. Sorry for the truncation, but that one line is super long.

Place the image in the Scroll View #
Next we have to create an instance of UIImage and assign our image to it. After that we’ll create an instance of UIImageView and assign our UIImage to that. As if all that wasn’t already super manual we’ll also have to make our UIImageView a subview of out UIScrollView – which we made above. All of that together in Xcode looks like this:

Here’s the code for cuttin’ n’ pastin’.
UIImage *backgroundImage = [UIImage imageNamed:@"simple_scrollview.png"];
UIImageView *activityFeedView = [[UIImageView alloc] initWithImage:backgroundImage];
[activityFeedScrollView addSubview:activityFeedView];
If you run this now, you’d see your image but you wouldn’t be able to scroll it. To do that we need to tell our scroll view how large the content is – so it knows how much to scroll. So the final bit of code is to set the contentSize property on the instance of UIScrollView. Again, place the following code in the viewDidLoad method.
activityFeedScrollView.contentSize = CGSizeMake(activityFeedView.frame.size.width, activityFeedView.frame.size.height);
Grab the files for this project on Github. Up next let’s add a navbar.